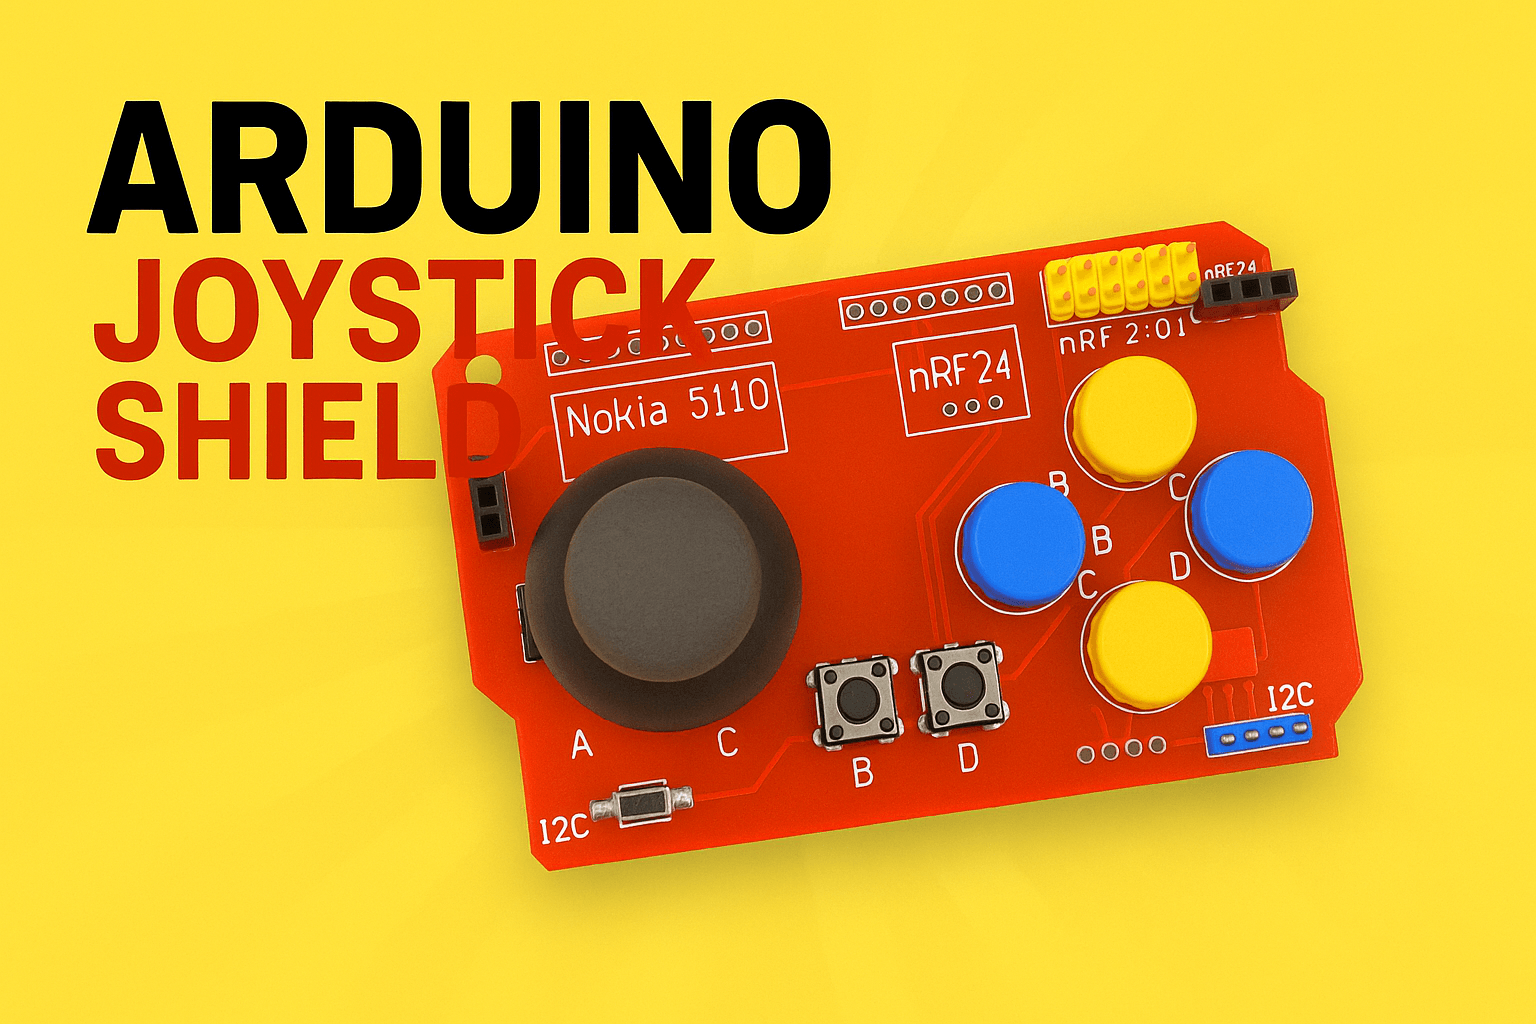
Arduino joystick shield
Quick and easy way to create joystick for remote controlled car
Quick and easy way to create joystick for remote controlled car

My small test board with WCH ch32v003
PCF8574 I2C Level shifter for LCD

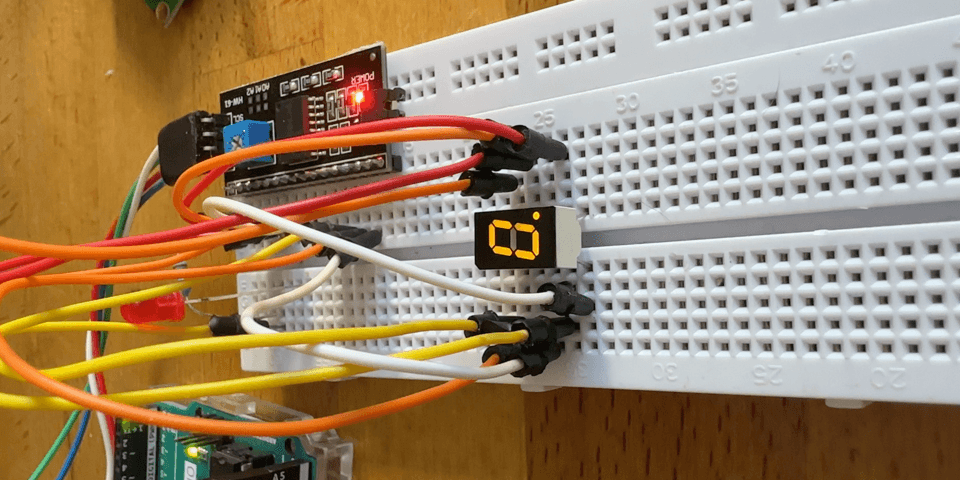
scanning trough I2C bus to get all devices addresses
Simulate simple LCD display with hitachi controller(HD44780).
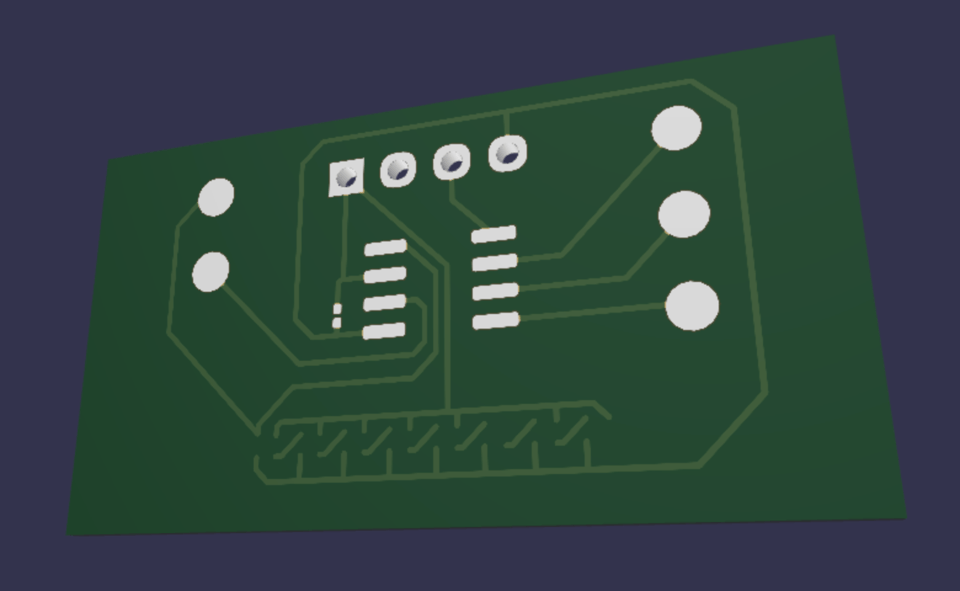
I tested out online PCB design tool